Top 10 Signs You Need Rodent Extermination, Plus What to Do Next
Top 10 Signs You Need Rodent Extermination, Plus What to Do Next
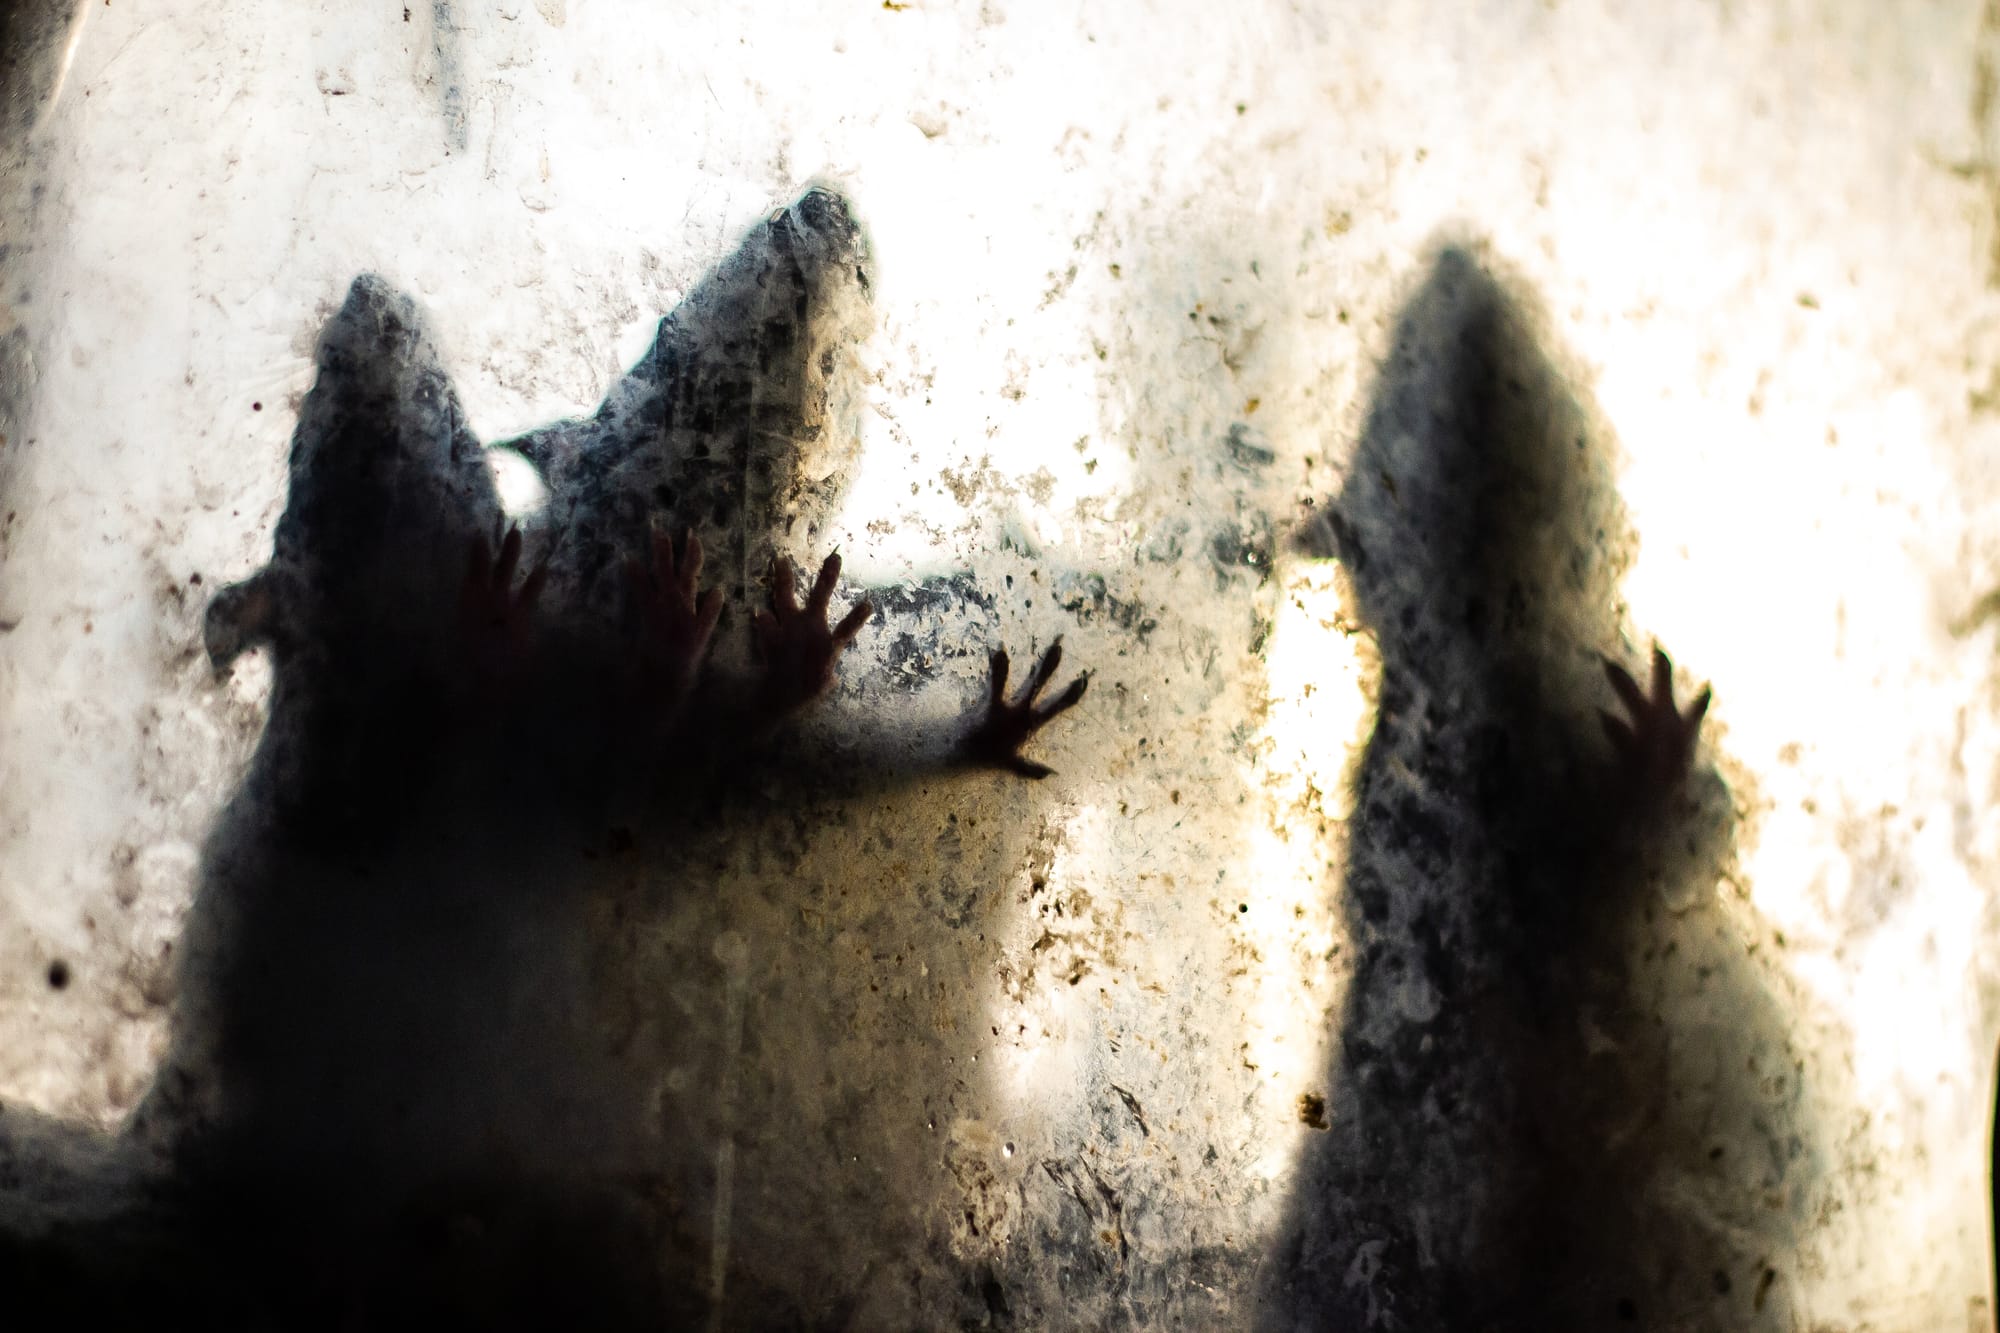
KO Pest Control, Pest Control Service in Taunton, pests we deal with
Rodents are not just an inconvenience, they are persistent, fast breeding, and capable of causing property damage and health risks in a short amount of time. Mice and rats seek shelter, warmth, water, and food, and once they find a reliable source, they tend to stay close and expand their territory. Many infestations start quietly, with subtle clues that are easy to dismiss. The best outcomes happen when you identify the early warning signs, confirm what is happening, and take steps that remove the rodents and prevent a repeat.
This guide covers the top 10 signs you need professional rodent extermination, followed by practical next steps you can take right away. The focus is on real world indicators you can observe in homes, apartments, garages, sheds, restaurants, offices, warehouses, and other buildings. If you see more than one sign, or if any sign keeps recurring after do it yourself attempts, it is time to treat the situation as an active infestation that requires a structured plan.
- 1) Droppings in consistent locations
Rodent droppings are one of the most common and most informative signs. Mice and rats tend to leave droppings where they travel and where they feed, so the placement tells you about their routes, nesting proximity, and activity level. You may find droppings along baseboards, inside cabinets, under sinks, behind appliances, in drawers, in pantries, near pet food, in attics, crawl spaces, garages, storage rooms, near water heaters, and near trash storage areas.
Mouse droppings are typically small, dark, and rice sized. Rat droppings are larger and more capsule shaped. Fresh droppings look dark and moist, older droppings look dull and crumbly. Seeing a few isolated droppings can indicate a newcomer, but repeated droppings on multiple days or in multiple areas suggests a larger issue.
- What to do next
- Do not sweep or vacuum dry droppings, this can aerosolize particles. Ventilate the area.
- Wear gloves, and ideally a mask, then mist droppings with a disinfectant solution and let it sit, then wipe up with disposable towels.
- Track placements by taking photos and notes, including dates and locations.
- Inspect nearby for entry points, food sources, and nesting material.
- If droppings return after cleaning, contact a rodent professional for trapping strategy and exclusion recommendations.
- 2) Scratching, scurrying, or chewing noises, especially at night
Rodents are most active when the building is quiet, often after dark. Sounds can include light scratching in walls and ceilings, rapid scurrying in attic insulation, thumping or rustling above rooms, or gnawing noises near baseboards and cabinets. In multi unit buildings, sounds may travel, so activity next door or above you can still be heard.
Noises that repeat in a pattern, like every night around the same time, usually indicate that rodents are following a route between nesting and feeding areas. Louder or heavier movement can point to rats, while lighter, faster sounds can point to mice. Noise near kitchens, laundry rooms, or HVAC chases often signals a path that runs along plumbing and utility lines.
- What to do next
- Pinpoint the area by listening at different times, then inspect adjacent rooms, attic access points, and utility chases.
- Look for supporting evidence such as droppings, rub marks, gnawing, and openings near where the sound seems strongest.
- Place monitoring tools like non toxic tracking dust or flour lines only if you can do so safely and legally, then check for tracks, but avoid spreading powders in food areas.
- Avoid using ultrasonic devices as a primary method, results are unreliable and can delay effective action.
- Schedule an inspection if noises persist for more than a few nights, or if you suspect activity in walls where DIY access is limited.
- 3) Gnaw marks on food packaging, wood, wiring, or plastic
Rodents must gnaw to keep their teeth worn down, so chewing damage is both a sign and a hazard. You may see ripped cereal boxes, holes in snack bags, gnawing on pet food containers, tooth marks on cabinet corners, damage to baseboards, and shredded insulation around pipes. In garages and storage buildings, they often chew cardboard, foam, and plastic bins.
Chewing on wiring is one of the most serious risks. Frayed wires can lead to shorts, outages, equipment failure, or even fire hazards. Chewing can also compromise water lines and HVAC components. If you see fresh gnaw marks, especially in multiple places, it suggests active feeding routes and a population that is comfortable in the structure.
- What to do next
- Remove and discard compromised food items, and clean the area thoroughly, then store food in hard plastic or glass containers with tight lids.
- Inspect for safety hazards, if wiring is damaged, consider an electrician evaluation.
- Do not leave bait blocks or poison in open areas where pets or children can access, and avoid unconfirmed poison use that can lead to rodents dying in walls.
- Use snap traps as a short term stopgap, placed correctly along walls and behind objects, but treat this as temporary until entry points are sealed.
- Contact a professional if you see wiring impacts, repeated gnawing, or damage in inaccessible spaces.
- 4) Grease marks, rub marks, and smudge trails along walls
Rats, and sometimes mice, often travel the same routes along walls, beams, and pipes. Oils and dirt from their fur can leave dark rub marks, especially on light painted surfaces, corners, and around holes. These marks can look like smudges or streaks at low height, and they tend to appear where rodents squeeze through tight spaces repeatedly.
Rub marks are a strong indicator of established travel paths. A single fresh smudge near a hole can indicate an active entry point. Multiple rub marks along baseboards, behind appliances, or on rafters in garages commonly indicate a network of routes between nesting areas and food sources.
- What to do next
- Mark suspected travel lines, then place monitoring traps along those edges, not in the middle of rooms.
- Clean marks after documenting them, then check whether the marks reappear, which confirms ongoing travel.
- Inspect the ends of rub lines for holes, gaps, and penetrations, especially where plumbing and electrical lines enter walls.
- Plan for exclusion, sealing without trapping first can push rodents deeper inside or shift activity.
- Ask for a professional inspection if rub marks appear in several rooms, or if you cannot safely access the areas involved.
- 5) Nests made of shredded paper, insulation, or fabric
Rodents build nests using soft materials they can shred and carry. Common nesting materials include paper towels, tissue, cardboard, insulation, cotton, fabric, dryer lint, and packing materials. Nests may be found in drawers, behind appliances, in attic insulation, inside wall voids, in crawl spaces, under decking, inside stored boxes, in grills, in vehicles, and in outdoor storage units.
A nest usually indicates that rodents have moved beyond occasional entry and into active colonization. If you find a nest, especially with droppings nearby, it is likely that there are multiple rodents and that breeding may already be happening. Nests also tend to be near heat sources, quiet corners, or protected spaces with nearby food access.
- What to do next
- Do not handle nesting material without protection, it can contain urine and contaminants.
- Document the location, then carefully remove and bag the material after disinfecting, if it is safe to do so.
- Increase sanitation and reduce clutter near the nesting zone, clutter gives rodents cover and additional nesting supply.
- Set traps between the nest area and the nearest food source, but avoid blocking all exits until control measures are active.
- Arrange for professional treatment if nests are found in attics, crawl spaces, or vehicles, where access and thoroughness matter.
- 6) Strong musky odors, urine smell, or ammonia like scent
Rodent urine and droppings can create a persistent odor, often described as musky. In heavier infestations or in enclosed spaces, the smell can become sharp and ammonia like. Odor is often most noticeable in cabinets, under sinks, pantries, attics, crawl spaces, and rooms that are closed up for long periods. Air vents can also circulate odor if activity is near ductwork.
Odor alone does not confirm rodents, but when combined with droppings, noises, or damage, it becomes a strong sign of ongoing presence. A sudden odor spike can also happen if a rodent dies in a wall or ceiling, which is a key reason unplanned poison use can backfire.
- What to do next
- Confirm by checking for droppings, rub marks, and entry points in the areas where odor is strongest.
- Use disinfectants designed for biological cleanup, and avoid masking sprays that do not address contamination.
- If you suspect a dead rodent, locate the source area carefully, removing drywall blindly can spread contamination, and professional help may be best.
- Reduce moisture, fix leaks, improve ventilation, and remove accessible food, these changes reduce attraction.
- Call a professional if odor is strong, widespread, or if you cannot find and safely remediate the source.
- 7) Footprints, tail drags, and tracking evidence in dusty areas
In attics, basements, garages, and storage spaces, dust can reveal travel patterns. Rodents leave small footprints, tail drags, and disturbed dust trails along beams, shelves, and near wall edges. You may also see tracks in flour spilled on the floor, in insulation, or in soft soil near foundations.
Tracking evidence is useful because it helps you determine where rodents are entering and how they move. This is critical for effective trap placement and for targeting exclusion. It can also help you distinguish between occasional visitors and established residents. Frequent, clearly defined tracks suggest active and repeated movement.
- What to do next
- Photograph the tracks and note direction of travel, then inspect where the trail begins and ends.
- Look for vertical access points such as pipes, wires, stacked items, shelving, and rough foundation areas.
- Place traps along the travel edge, and consider multiple traps in a line for high activity corridors.
- After trapping begins, plan a sealing phase to close the access points identified by the tracks.
- Request a professional if tracks suggest movement across multiple building levels or widespread activity.
- 8) Burrows, runways, and disturbed landscaping outside
Rodent problems often start outdoors. Norway rats, in particular, can burrow near foundations, under sheds, near compost areas, around HVAC pads, under porches, and under concrete slabs with voids. You might see smooth dirt runways along fences, walls, or garden edges, and small holes with fresh soil nearby. Grease marks can appear on exterior walls too, near entry gaps.
Outdoor signs matter because interior control alone may not hold if the exterior population stays strong. Exterior harborages create constant pressure, meaning new rodents keep testing your structure for entry. This is why a full plan usually includes sanitation and habitat changes outdoors, not just interior trapping.
- What to do next
- Remove food sources such as accessible trash, open compost, fallen fruit, bird seed spills, and pet feeding outdoors.
- Trim vegetation away from the building, and reduce ground cover that provides shelter.
- Fill and compact burrows only after active control is underway, sealing a burrow without reducing the population can push rodents toward the structure.
- Inspect foundation lines and utilities for gaps, rodents can enter through surprisingly small openings.
- Bring in a professional if burrows are active, numerous, or close to the foundation, coordinated outdoor and indoor control is often required.
- 9) Pet behavior changes, alerting, pawing, or fixating on walls
Dogs and cats often notice rodents before people do. A cat may stare at an appliance gap, a dog may sniff intensely near baseboards, or a pet may paw at a cabinet toe kick area. Some pets become restless at night, especially if rodents are active in walls or ceilings. While pets are not a diagnostic tool by themselves, consistent behavior directed at a specific spot is a useful clue.
Relying on a cat to solve a rodent issue is risky. Rodents can avoid pets by traveling inside walls and confined spaces. Also, partial predation can leave contaminated remains, and pets can be exposed to parasites, pathogens, or secondary poisoning if rodents consumed toxicants elsewhere.
- What to do next
- Inspect the areas your pet is focused on, looking for droppings, gaps, rub marks, and chewed materials.
- Keep pet food secured, do not leave bowls out overnight, and store kibble in sealed containers.
- Avoid using loose poison baits where pets can access rodents, or where rodents can carry bait pieces.
- If a pet catches rodents, clean and disinfect the area thoroughly and wash pet bedding.
- Use your pet’s behavior as a pointer, then confirm with physical evidence and professional inspection if needed.
- 10) Repeated sightings, daytime activity, or seeing multiple rodents
Seeing a rodent once can be a fluke, but repeated sightings are a clear sign the issue is active. If you see rodents during the day, that can indicate overcrowding, competition, or lack of food, all of which can occur when populations are higher. Multiple sightings in different rooms, or seeing more than one rodent at a time, typically points to an established infestation.
Sightings in kitchens, pantries, and food storage rooms demand immediate action. Sightings in commercial settings can create regulatory exposure, customer complaints, and reputational damage. In any building type, repeated sightings mean the rodents have likely found stable nesting and a reliable travel network.
- What to do next
- Start with immediate containment, secure food, reduce clutter, and eliminate water sources like leaks and standing water.
- Deploy traps strategically, not randomly. Place along walls, behind appliances, near suspected entry points, and in attic or garage edges where activity is seen.
- Increase monitoring frequency, check traps daily at first, and adjust placements based on results.
- Plan an exclusion phase, sealing without a plan can shift activity, but leaving openings guarantees recurrence.
- Schedule professional extermination when sightings are repeated, when daytime sightings occur, or when DIY trapping is not reducing activity within a week.
What to Do Next, A Practical Action Plan After You Notice the Signs
Once you notice one or more signs, the goal is to move from suspicion to confirmation, then to a structured control and prevention plan. Effective rodent extermination is rarely a single step. It is usually a combination of inspection, identification, monitoring, population reduction, sanitation, exclusion, and follow up. Skipping one piece often leads to short lived results.
- Step 1: Identify what you are dealing with, mice or rats
Correct identification affects everything, from trap selection to placement to exclusion materials. Mice can enter through much smaller gaps than rats. Rats are more cautious about new objects, and often require different placement strategies and sometimes pre baiting. The droppings size, gnaw marks, tracks, burrow presence, and the height of rub marks can help differentiate.
- What to do
- Compare droppings size and shape, and note where they appear most.
- Check for burrows outdoors, which often indicates rats.
- Consider the building type, dense urban areas and sewers often correlate with rats, but mice are common everywhere.
- If unsure, take clear photos of droppings, gnaw marks, and entry holes for a professional review.
- Step 2: Map activity zones and travel routes
Rodents move along edges. They prefer cover and often avoid crossing open spaces. Mapping activity means you identify where they likely nest, where they feed, and how they travel between the two. This improves the efficiency of traps and reduces how long the problem lasts.
- What to do
- Start with kitchens, pantries, laundry rooms, garages, attics, basements, and crawl spaces.
- Follow baseboards and look behind appliances, especially refrigerators and stoves.
- Check inside and behind cabinets, around plumbing penetrations, and under sinks.
- Look for rub marks, droppings, and gnawing that form a line, this often indicates a runway.
- Step 3: Remove attractants, food, water, and shelter
Even the best trapping program struggles if rodents have abundant food and water. Sanitation is not about being perfect, it is about reducing easy calories and hiding places so rodents take baited traps and stop thriving. Water control matters more than many people realize. In dry seasons, a small leak can sustain an infestation.
- What to do
- Store pantry goods in sealed containers, including cereal, snacks, and baking supplies.
- Keep pet food sealed and avoid overnight feeding. Clean spilled kibble immediately.
- Use trash cans with tight fitting lids, and clean residue that builds up at the bottom.
- Fix leaks under sinks, near dishwashers, behind refrigerators with water lines, and around HVAC condensate lines.
- Reduce clutter, especially cardboard storage on floors and in garages.
- Step 4: Choose control tools carefully, traps, baits, and monitoring
Rodent control can be done with snap traps, enclosed bait stations, multi catch traps, or in some cases targeted rodenticides applied according to regulations. In many residential situations, trapping is preferred, especially when you want to avoid the risk of rodents dying inside walls. In commercial and exterior environments, tamper resistant bait stations may be used as part of an integrated approach.
- What to do
- Use snap traps for quick results, place them perpendicular to the wall with the trigger side closest to the wall.
- Use more traps than you think, under deploying traps extends the timeline. A few traps rarely solve a real infestation.
- Use gloves when handling traps to reduce human scent, and keep children and pets away.
- Check daily at first, remove rodents promptly, and reset traps with fresh attractant as needed.
- Avoid scattering poison packets or blocks. Improper use increases risk to non targets and may create odor issues from hidden carcasses.
- Step 5: Perform exclusion, seal entry points with the right materials
Exclusion is the long term solution. If you only trap, new rodents can enter. If you only seal without reducing the current population, rodents can be trapped inside and cause more damage while seeking exits. The best sequence typically involves active control, then sealing, followed by monitoring.
- What to do
- Inspect the exterior at dusk or dawn, using a flashlight to spot gaps along foundations and under siding.
- Seal small gaps with materials rodents cannot chew through, such as steel wool combined with sealant, metal mesh, hardware cloth, or appropriate flashing.
- Install door sweeps and repair thresholds, pay attention to garage doors and side doors.
- Screen vents properly, cap or screen openings, and ensure chimney caps are in place.
- Seal around utility penetrations, including AC lines, pipe chases, and cable entries.
- Step 6: Address nesting and contaminated areas safely
Rodent contamination can include droppings, urine, nesting debris, and contaminated insulation. Cleaning is important for odor reduction and sanitation, but it should be done with care to avoid stirring particles. In major infestations, insulation removal and replacement may be warranted, especially in attics and crawl spaces. Contamination in HVAC areas can spread odors and particles through airflow.
- What to do
- Ventilate, wear gloves, and use a disinfectant before wiping up droppings and urine areas.
- Dispose of materials in sealed bags, and wash hands and exposed skin afterward.
- Launder exposed fabrics, including pantry liners, rags, and pet bedding.
- Consider professional remediation for heavy attic contamination, it can be difficult and hazardous to do thoroughly.
- Step 7: Establish follow up monitoring, because one quiet week is not proof
Rodent activity can drop temporarily, especially after food sources are removed or after initial trapping. A steady decline is good, but monitoring confirms whether the infestation is eliminated. Follow up also catches new entry quickly. In many cases, a building remains attractive, and future pressure from outdoors can restart the problem if exclusion is incomplete.
- What to do
- Continue monitoring traps or non toxic stations for at least two to four weeks after the last sign.
- Reinspect sealed areas to confirm materials are holding and no new chewing is present.
- Keep sanitation practices consistent, rodents exploit short windows of opportunity.
- In businesses, maintain a log of findings, captures, and corrective actions for accountability.
Common Rodent Hotspots People Miss
- Behind and under kitchen appliances, especially the refrigerator drip pan area and stove sides.
- Inside dishwasher voids and toe kicks where warm motors and crumbs attract rodents.
- Under sink cabinets at plumbing penetrations and where particleboard is easy to chew.
- Laundry rooms, dryer vents, and behind washers where lint and warmth accumulate.
- Attic access doors, recessed lighting openings, and HVAC duct chases.
- Garage corners where cluttered storage creates hidden runways.
- Basement rim joists, where multiple utilities enter and gaps are common.
- Exterior hose bibs, AC line sets, and cable entries that are often poorly sealed.
Why DIY Rodent Control Sometimes Fails
- Too few traps, placed in the wrong locations, typically in open areas instead of along edges.
- Ignoring exclusion, meaning new rodents replace trapped rodents quickly.
- Not addressing exterior pressure, burrows, trash management, and vegetation cover.
- Using the wrong bait or not changing bait when rodents ignore it.
- Trap shyness, especially with rats, when traps are handled frequently or moved too often.
- Relying on repellents, ultrasonic devices, or random poison use, which can delay effective work.
- Cleaning without disinfecting or sweeping droppings dry, which increases health risk.
When to Call KO Pest Control for Rodent Extermination
Some situations are manageable with careful do it yourself steps, but many require professional help to prevent drawn out infestations and repeated property damage. Professional rodent extermination is especially appropriate when the infestation is established, when entry points are complex, when contamination is heavy, or when safety risks are present. If you operate a business, professional documentation and an ongoing plan can also protect operations and support compliance expectations. our Taunton technicians are highly trained with all documentation needed for health and safety compliance.
- Call for help if any of the following apply
- You see rodents during the day, or you see multiple rodents, which often indicates a higher population.
- Droppings appear in multiple rooms, or they return quickly after cleaning.
- You find gnawing on wiring, equipment, or structural areas.
- Activity is in walls, ceilings, attic insulation, or other hard to access spaces.
- You have tried DIY traps for a week with little to no reduction in signs.
- You smell persistent urine odor, suspect a dead rodent, or have heavy contamination.
- You have pets or children, and you want a plan that minimizes risk while maximizing results.
How a Professional Rodent Extermination Visit Typically Works
- Inspection of interior and exterior, identifying entry points, harborage, and activity zones.
- Species assessment, mouse versus rat, and likely nest locations.
- Customized trapping and baiting plan based on structure layout and risk factors.
- Recommendations for sanitation and habitat modifications to reduce attraction.
- Exclusion plan, including priority sealing targets and materials that resist chewing.
- Follow up visits or monitoring schedule to confirm elimination and prevent recurrence.
Preventing Rodents After Extermination, Keep Them From Coming Back
Rodent prevention is an ongoing habit, not a one time task. Buildings change with weather, settling, renovations, and daily use. Small gaps reopen, doors wear, and landscaping grows. The best prevention programs combine periodic inspection, consistent sanitation, and quick repairs. If you have had a rodent issue once, prevention matters even more because rodents tend to revisit previously successful locations.
- Prevention checklist you can follow monthly
- Walk the exterior foundation line and look for new gaps, cracks, and chew points.
- Check door sweeps and weather stripping, replace worn sections promptly.
- Trim shrubs and branches away from walls and rooflines to reduce access routes.
- Store outdoor trash securely and clean bins, especially after spills or leaks.
- Keep storage elevated and organized, reduce cardboard and clutter where possible.
- Inspect attics and crawl spaces seasonally for droppings, tracks, and insulation disturbance.
- Maintain screens on vents and keep chimney caps intact.
- Address water issues quickly, including leaks, condensation, and drainage problems.
Quick Reference Summary, Top 10 Signs and the Immediate Next Move
- Droppings, disinfect and document, then inspect nearby openings and place monitoring traps.
- Noises at night, locate the zone and inspect adjacent rooms, then plan targeted trapping and exclusion.
- Gnaw marks, remove contaminated food, check wiring safety, and increase control measures.
- Rub marks, identify travel routes and likely entry holes and place traps along those edges.
- Nests, handle safely, remove if possible, and intensify trapping and inspection for additional nests.
- Odor, confirm with evidence and clean properly, suspect hidden carcass if odor spikes suddenly.
- Tracks in dust, follow direction to locate entry points and place traps where tracks concentrate.
- Burrows outdoors, reduce exterior food and shelter, coordinate outdoor and indoor control.
- Pet alerting, treat as a pointer, inspect the spot, and secure pet food.
- Repeated sightings, act immediately with a structured plan, and seek professional help if signs persist.
Final Note
If you recognize multiple signs from the list, or if the same sign keeps returning after you clean and set a couple of traps, treat it as a system problem, not a one off event. Rodent extermination works best when you combine accurate identification, correct trap placement, sanitation, and exclusion. KO Pest Control can help you confirm the source, stop the activity, and reduce the chance of rodents returning by addressing both the rodent population and the conditions that allowed it to start. Our Taunton pest control team has you covered every step of the way.